Note: this blog post was written by Jason Pohl.
Hi everyone! I wanted to share with you a project I worked on earlier in the year. I had an absolute blast working with @Sean O’NEILL on this toy Monster Truck!
Since it’s summer and sandbox season, I thought it was a good time to share our workflow and collaboration. What better way than a new toy to rule over the sandbox?
This video also sheds more light on my creation process from start to finish. Normally, I like to start projects off with a concept sketch, artboard, and a design study. However, for this project, I just jumped right into 3D modeling with the xShape app (greatest software ever created), which is part of the 3D Sculptor role in the 3DEXPERIENCE Works portfolio. I can now sculpt so fast that it is often my first choice to conceptualize new designs.

I used 3DEXPERIENCE SOLIDWORKS for MAKERS for the entire process. When asked why I decided to create a custom monster truck toy, the answer is clear… it is yet another attempt to impress my kids!
Software used to design and render, all in 3DEXPERIENCE SOLIDWORKS for Makers, included:
- 3DEXPERIENCE SOLIDWORKS Professional
- 3D Sculptor
- SOLIDWORKS Visualize Connected
How we did it
I decided to hop right into xShape and start concept modeling my idea. I really enjoy the speed I am able to model objects inside xShape. By starting with a simple box using a few features like, sub-divide, extrude, crease, pushing, and pulling, and just like that I am sculpting and defining shapes within seconds. I can capture whatever shapes are spinning around inside head almost instantly! I model so fast with this digital clay that sometimes I do my conceptualizing with it instead of traditional sketching on paper.
After I had completed the main look and feel of the monster tuck body, I took a few measurements from the original truck body with my calipers. I switched over to SOLIDWORKS where I created a quick box model of the original truck body. I used this to get the correct size and placement of my new truck body inside xShape. Being able to use a non-uniform scaling tool inside xShape was key to getting the size and proportions correct. Also, it was very important that the two extruded bosses lined up perfectly with the toy truck’s chassis. This might not have been the most organized way of completing this task, but it worked for the way my mind works. I found that SOLIDWORKS and xShape worked seamlessly together to fit my unique design process.

While I was having fun creating the new truck body, wheels, and tires, my good friend Sean was working on modeling the truck’s chassis. We decided to do this so that we could have a complete assembly that would help us create a better visual rendering. Being an Industrial Designer, I love to display my work with as much as detail as possible, which is why I relied on SOLIDWORKS Visualize to render the final design.

After my design process it is common for my projects to end up on my Tormach CNC Mill or on my LMT 3D Laser, but for this project my Sindoh 3DWOX printer was a perfect fit. Sometimes it is fun to just sit back and watch a 3D printer jam out a new part! Once it was finished the new body snapped right into position. To be honest I was a bit surprised it worked so well on my first attempt. I guess it was a good idea to take the extra time to double check all my measurements.

I then dusted off my airbrush guns and shot a little color onto the truck, which really helped bring it to life. A quick pop of clear coat and two small screws later and VIOLA, it was completed! This truck embodied all the characteristics I set out to capture. It was low and angry, yet it still had classy bodylines to flow over the extra-large wheels.
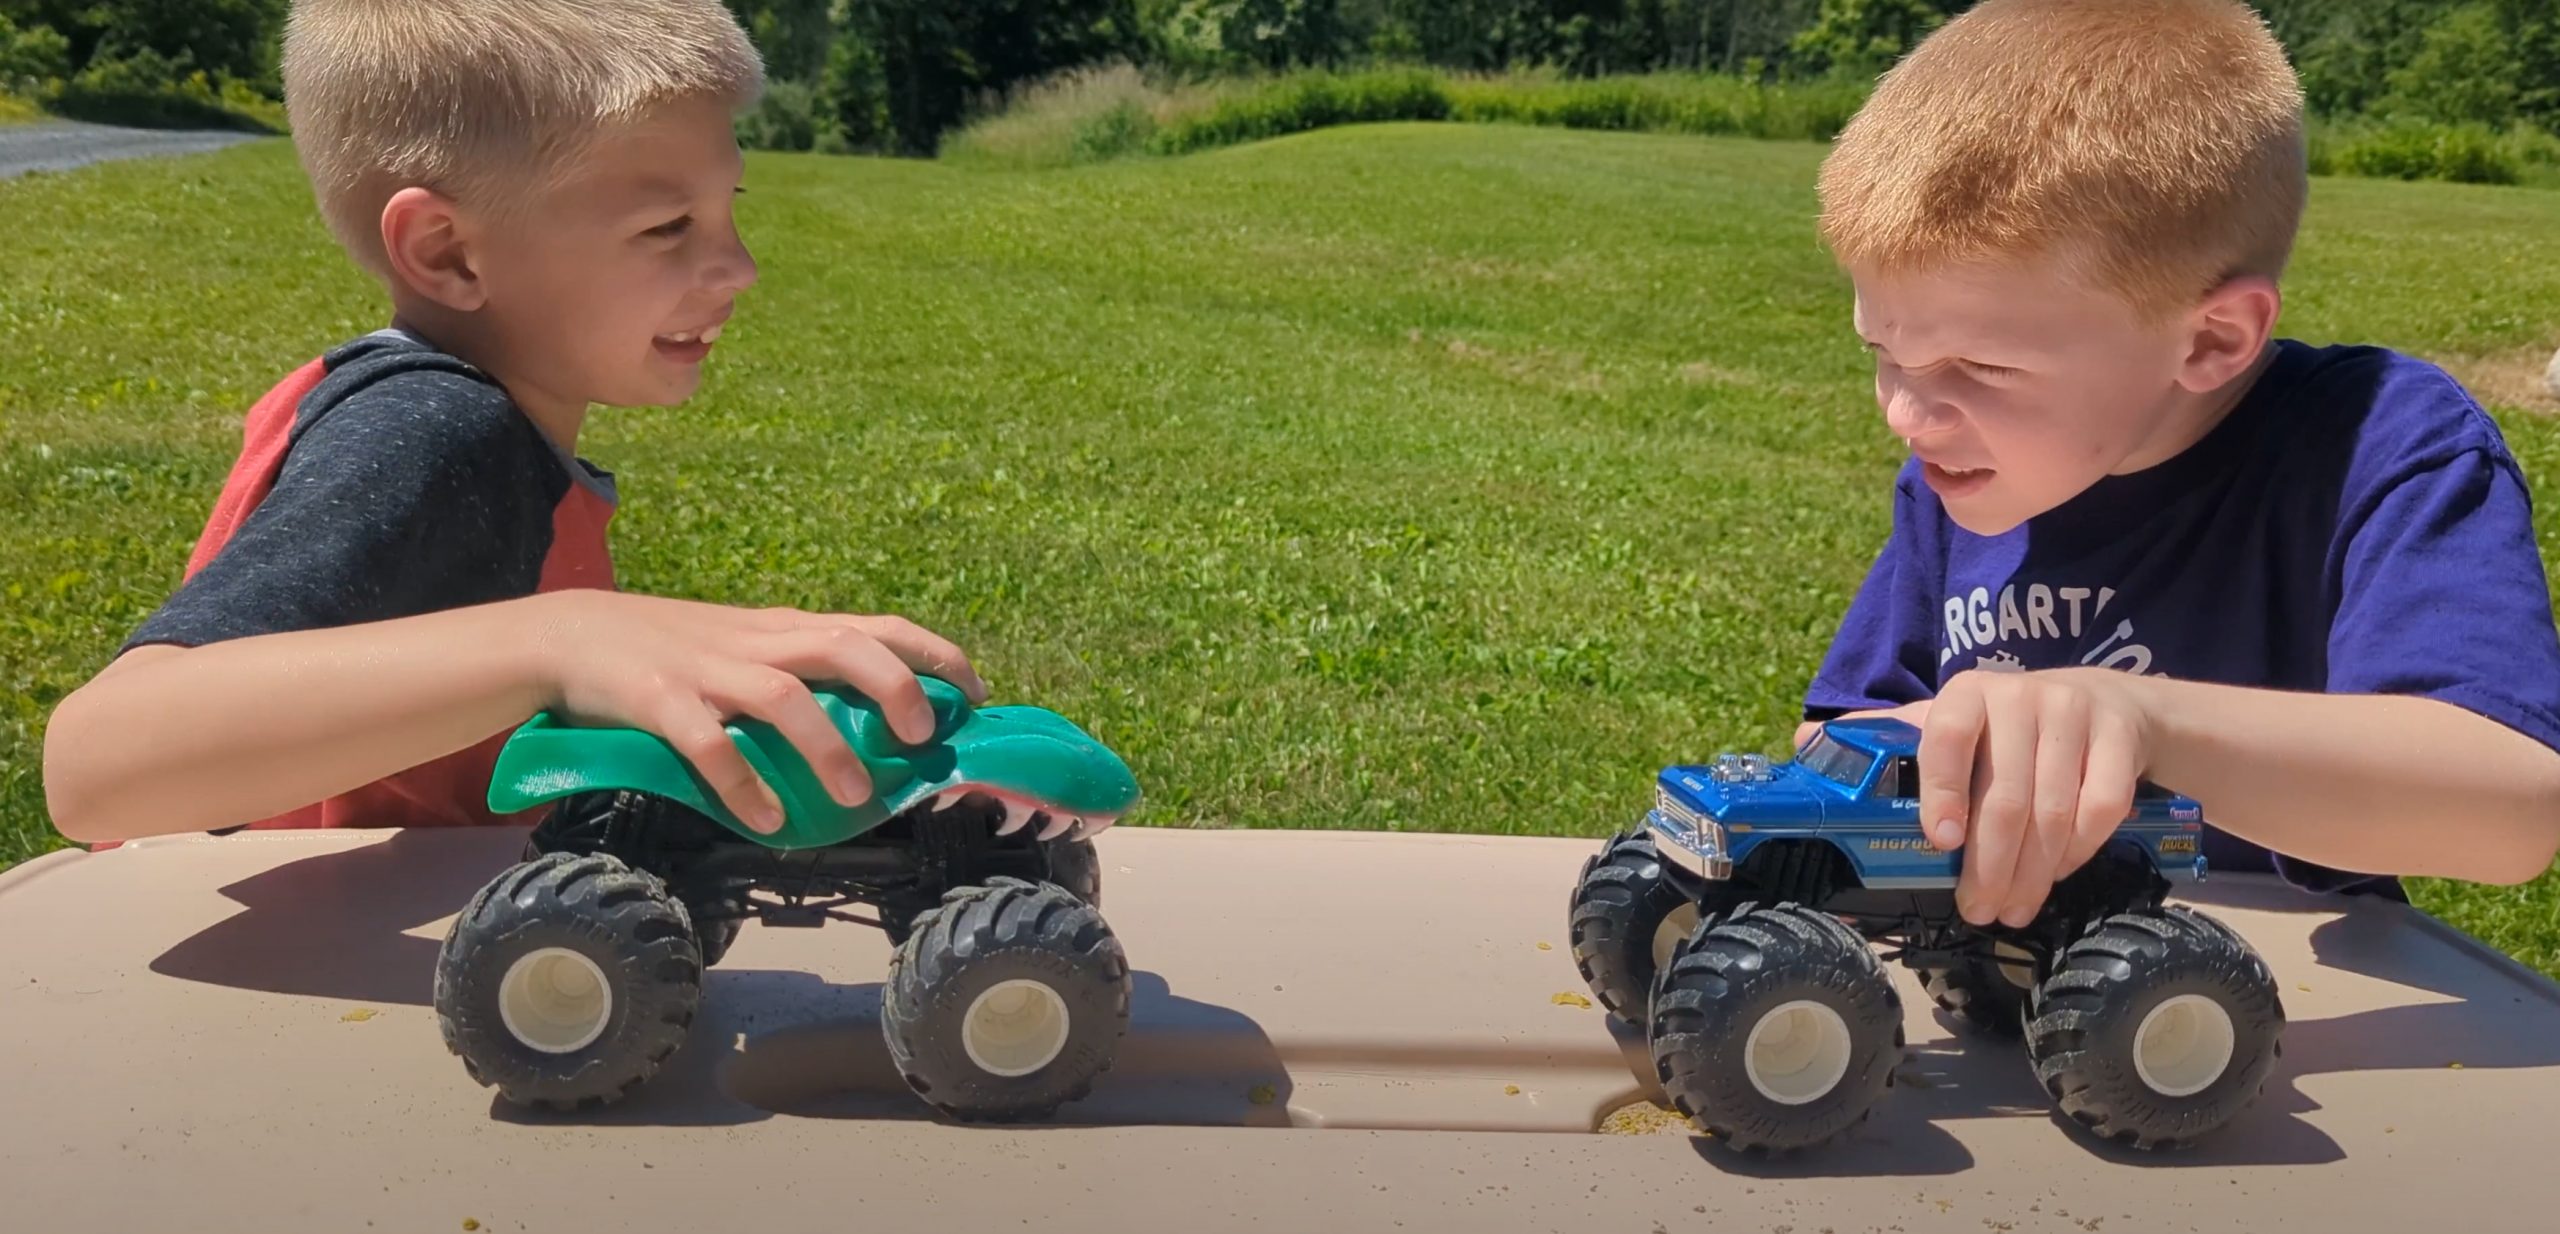
Most importantly, it is still out in the sandbox taking a licking by my kids. Bottom line my clients were thrilled with the final outcome, printing toys out is the best feeling ever!
